
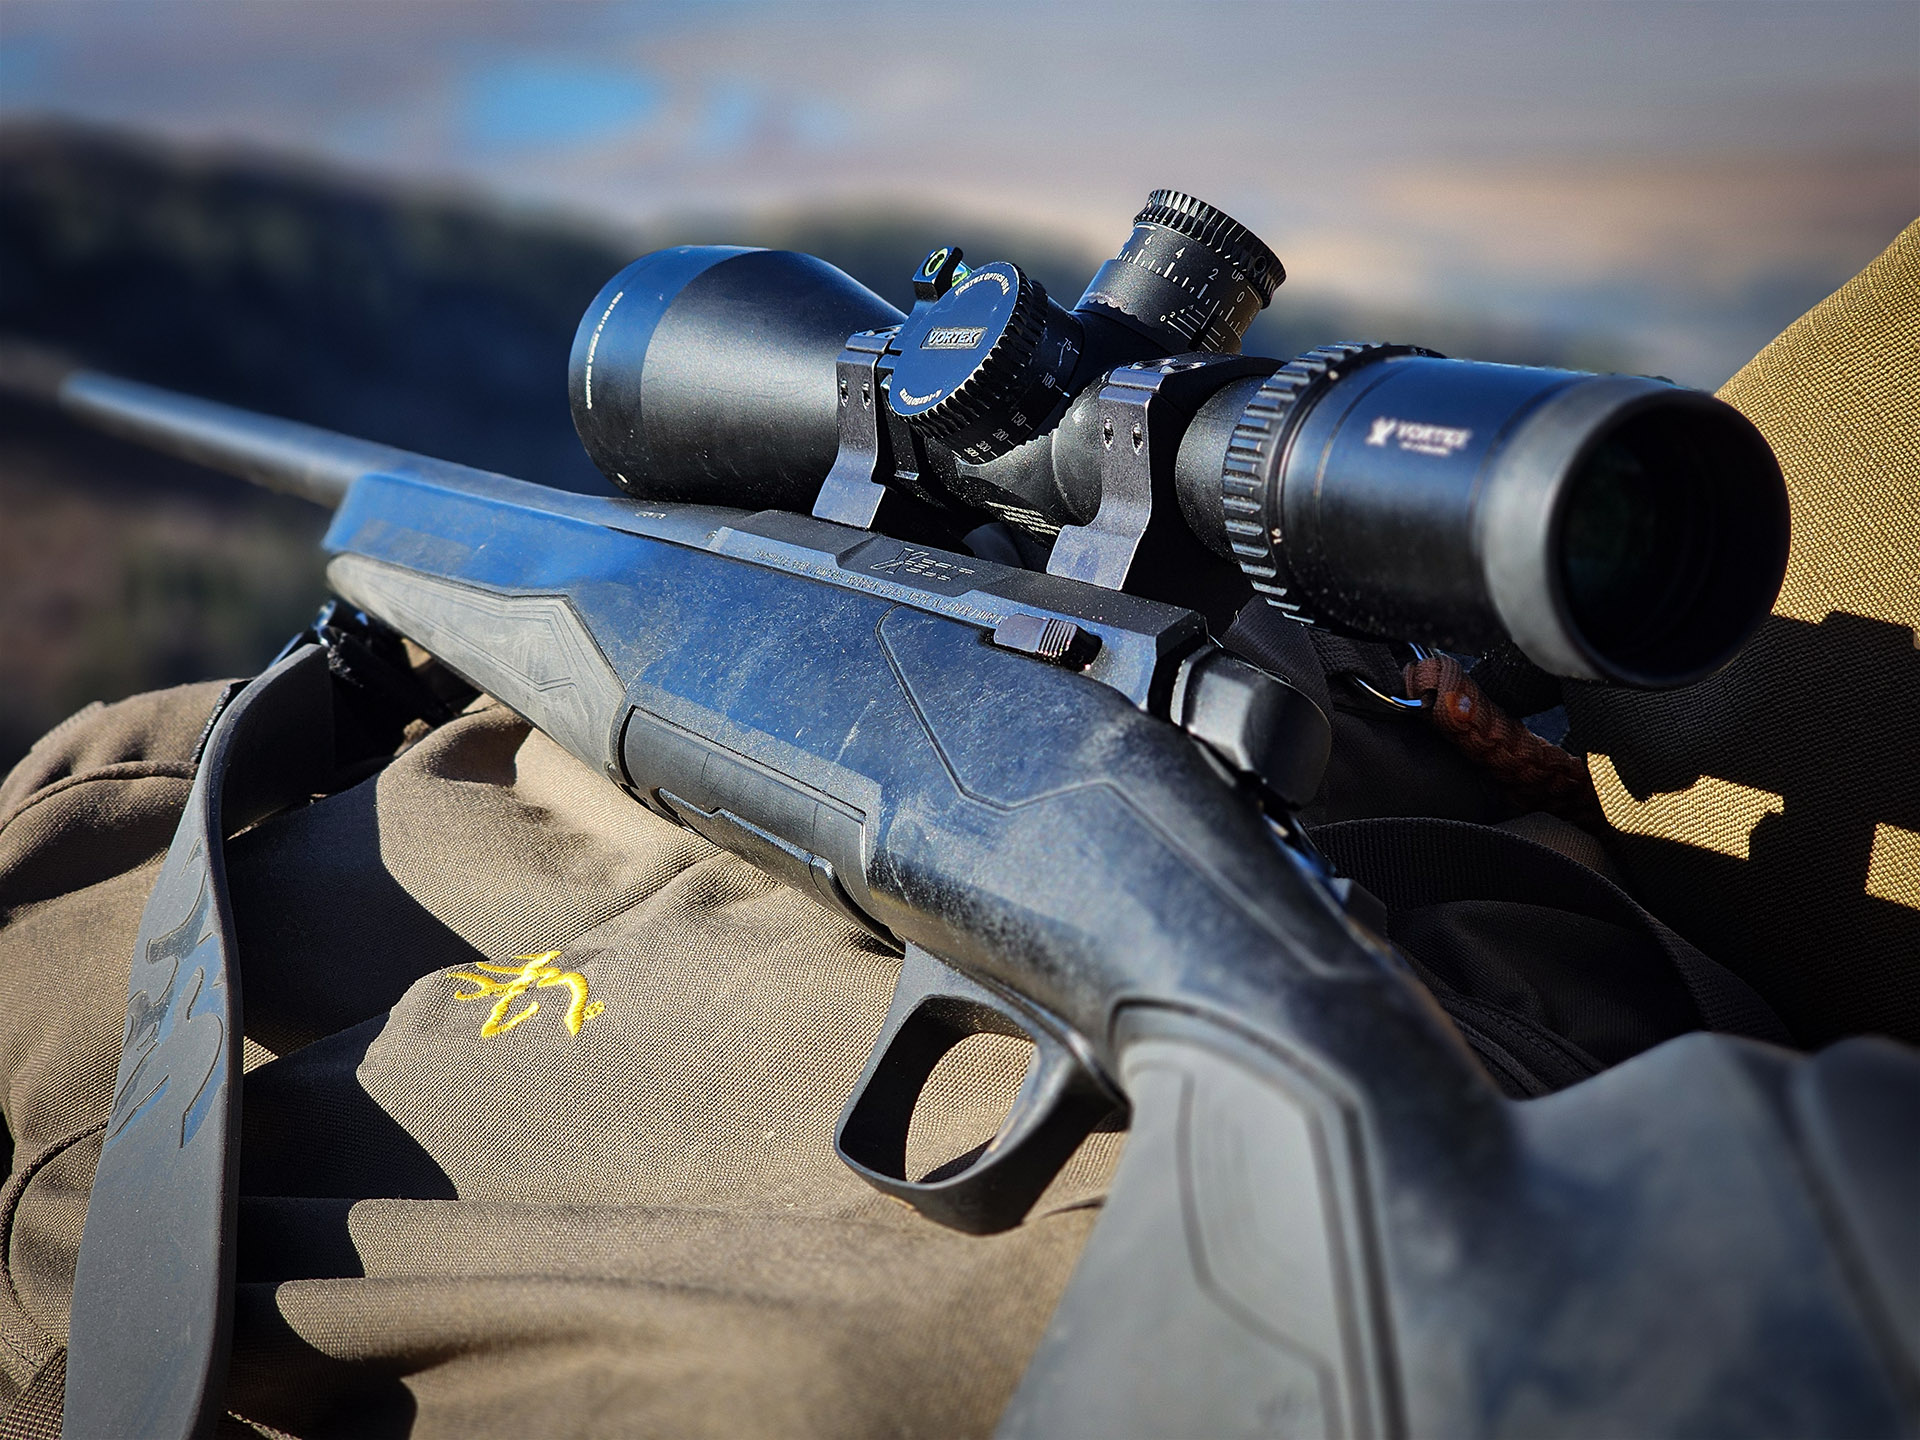
My X-Bolt 2 Hunter Composite in 300 WSM before I painted the stock.
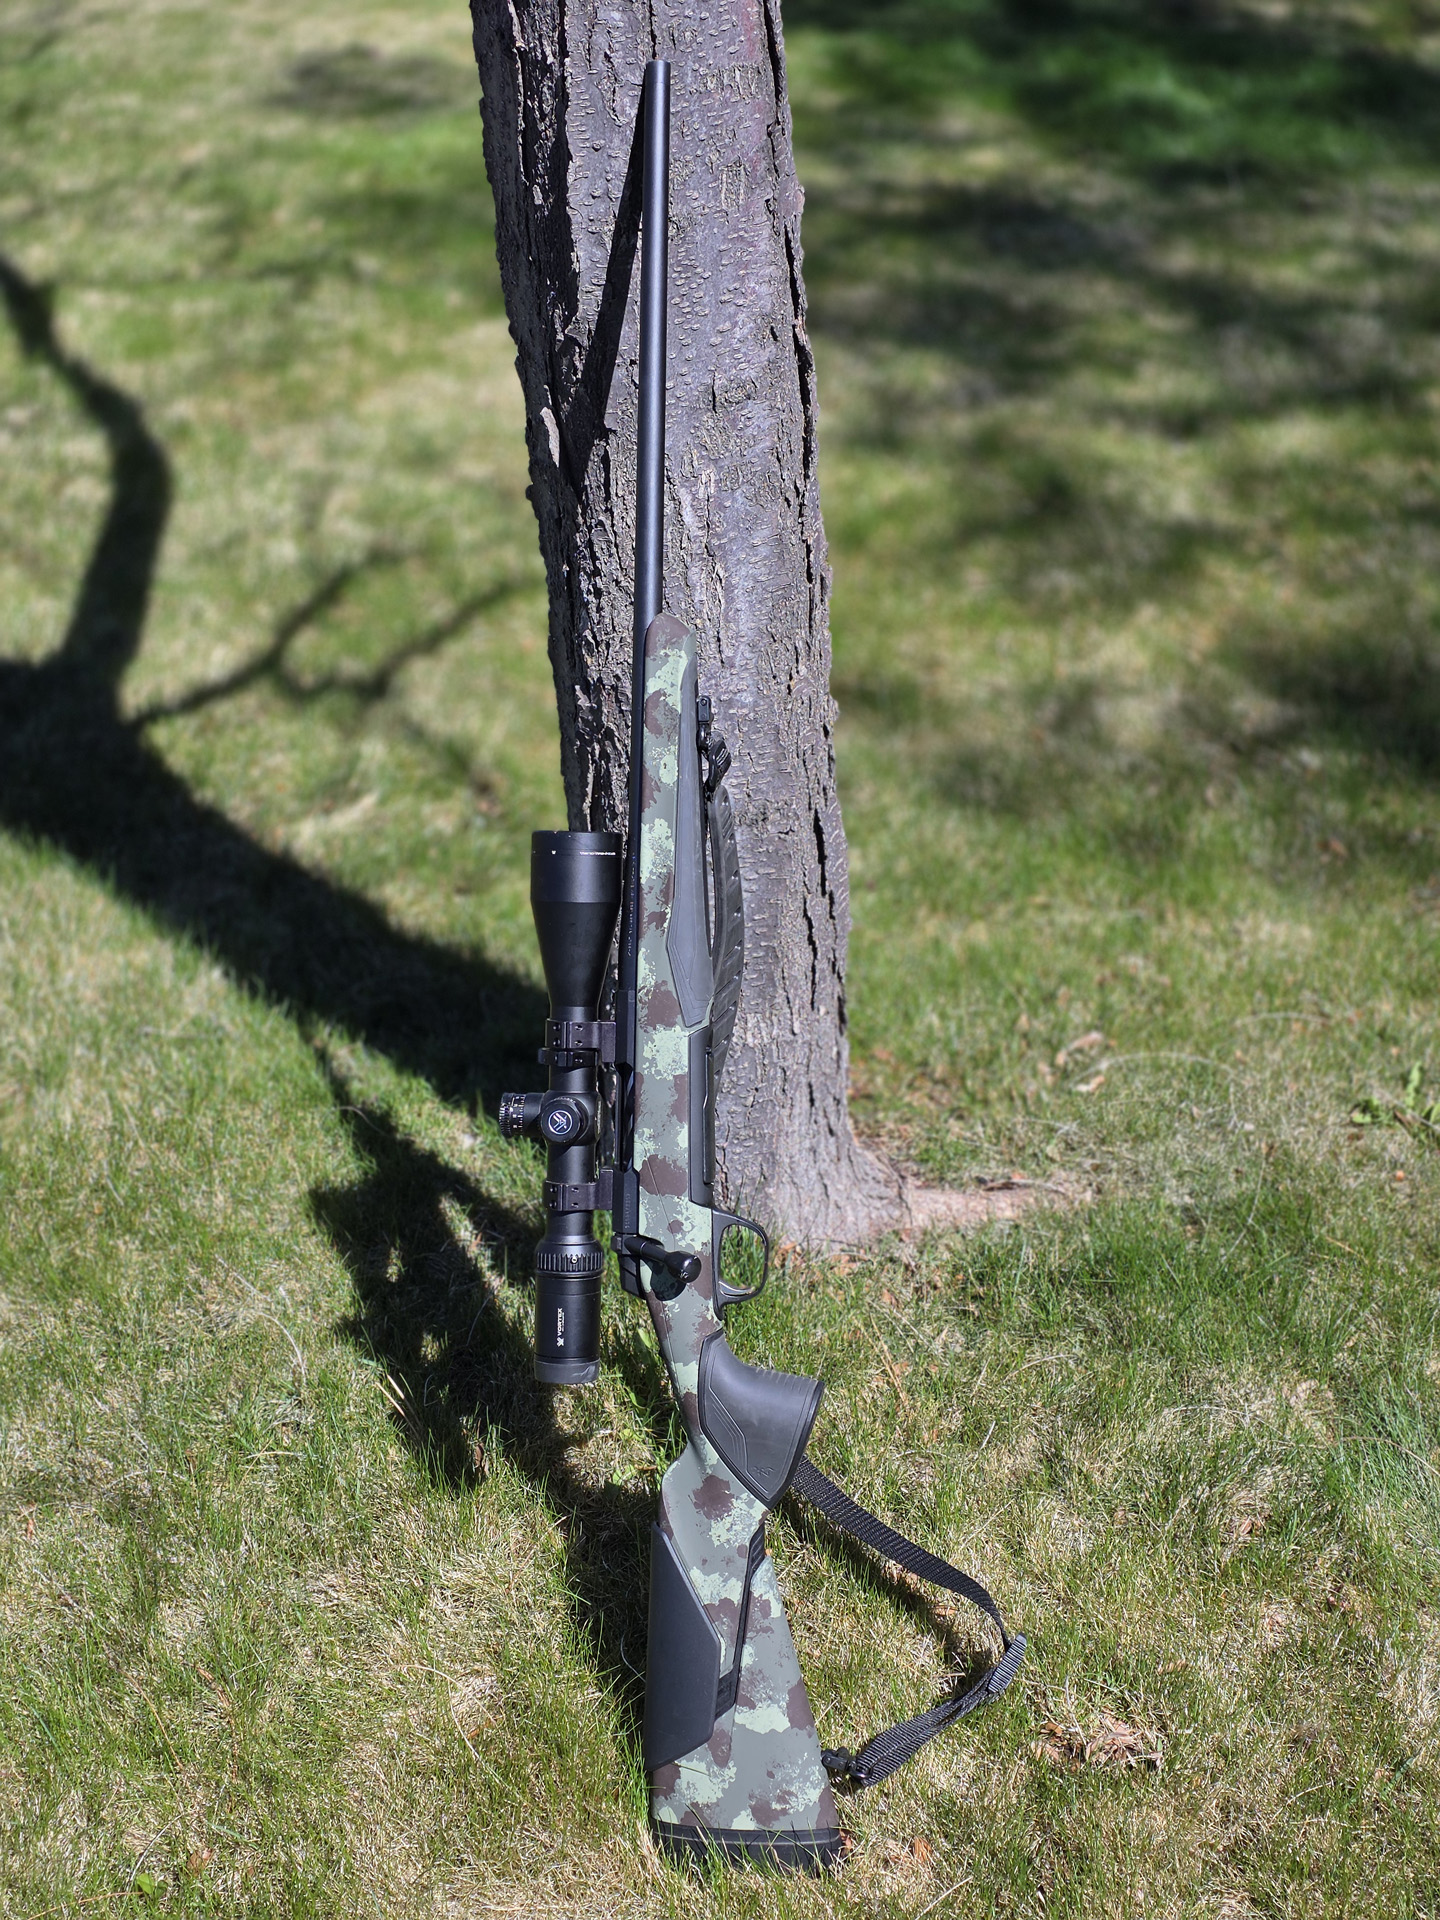
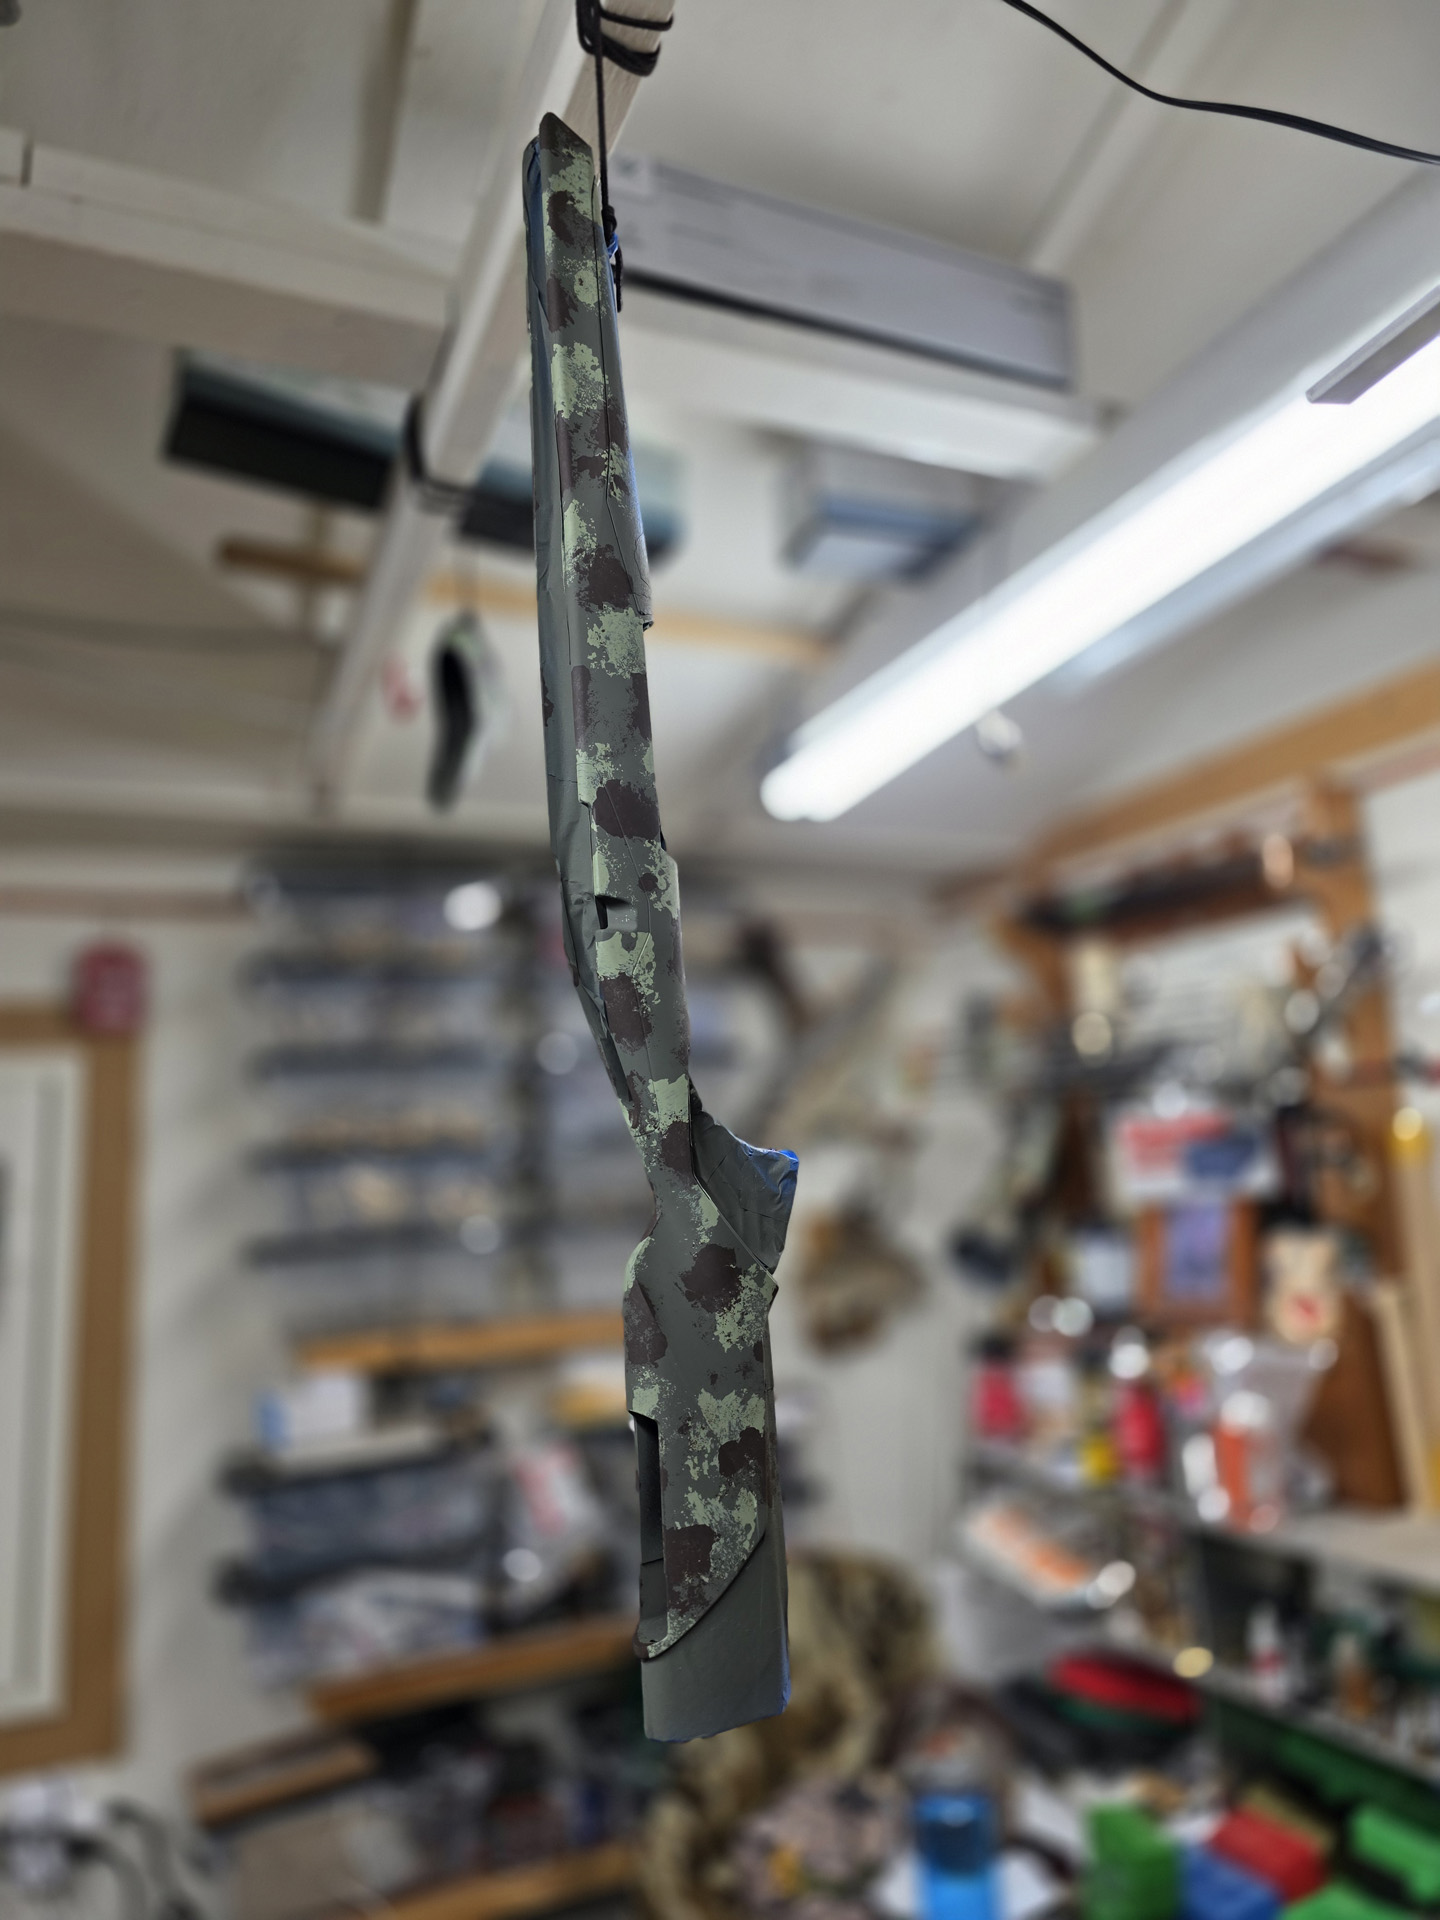
My rifle after my DIY Camouflage painting of the rifle stock.
I have been playing with the idea of painting my X-Bolt 2 Composite Hunter for a while. After testing out the concept on some of my heavily sun bleached trail cameras I decided to give it a try on my X-Bolt 2.
The biggest question I had about getting this to work was priming the plastic stock. There are a few plastic primers out there but in the end I chose an Adhesion Promoter.
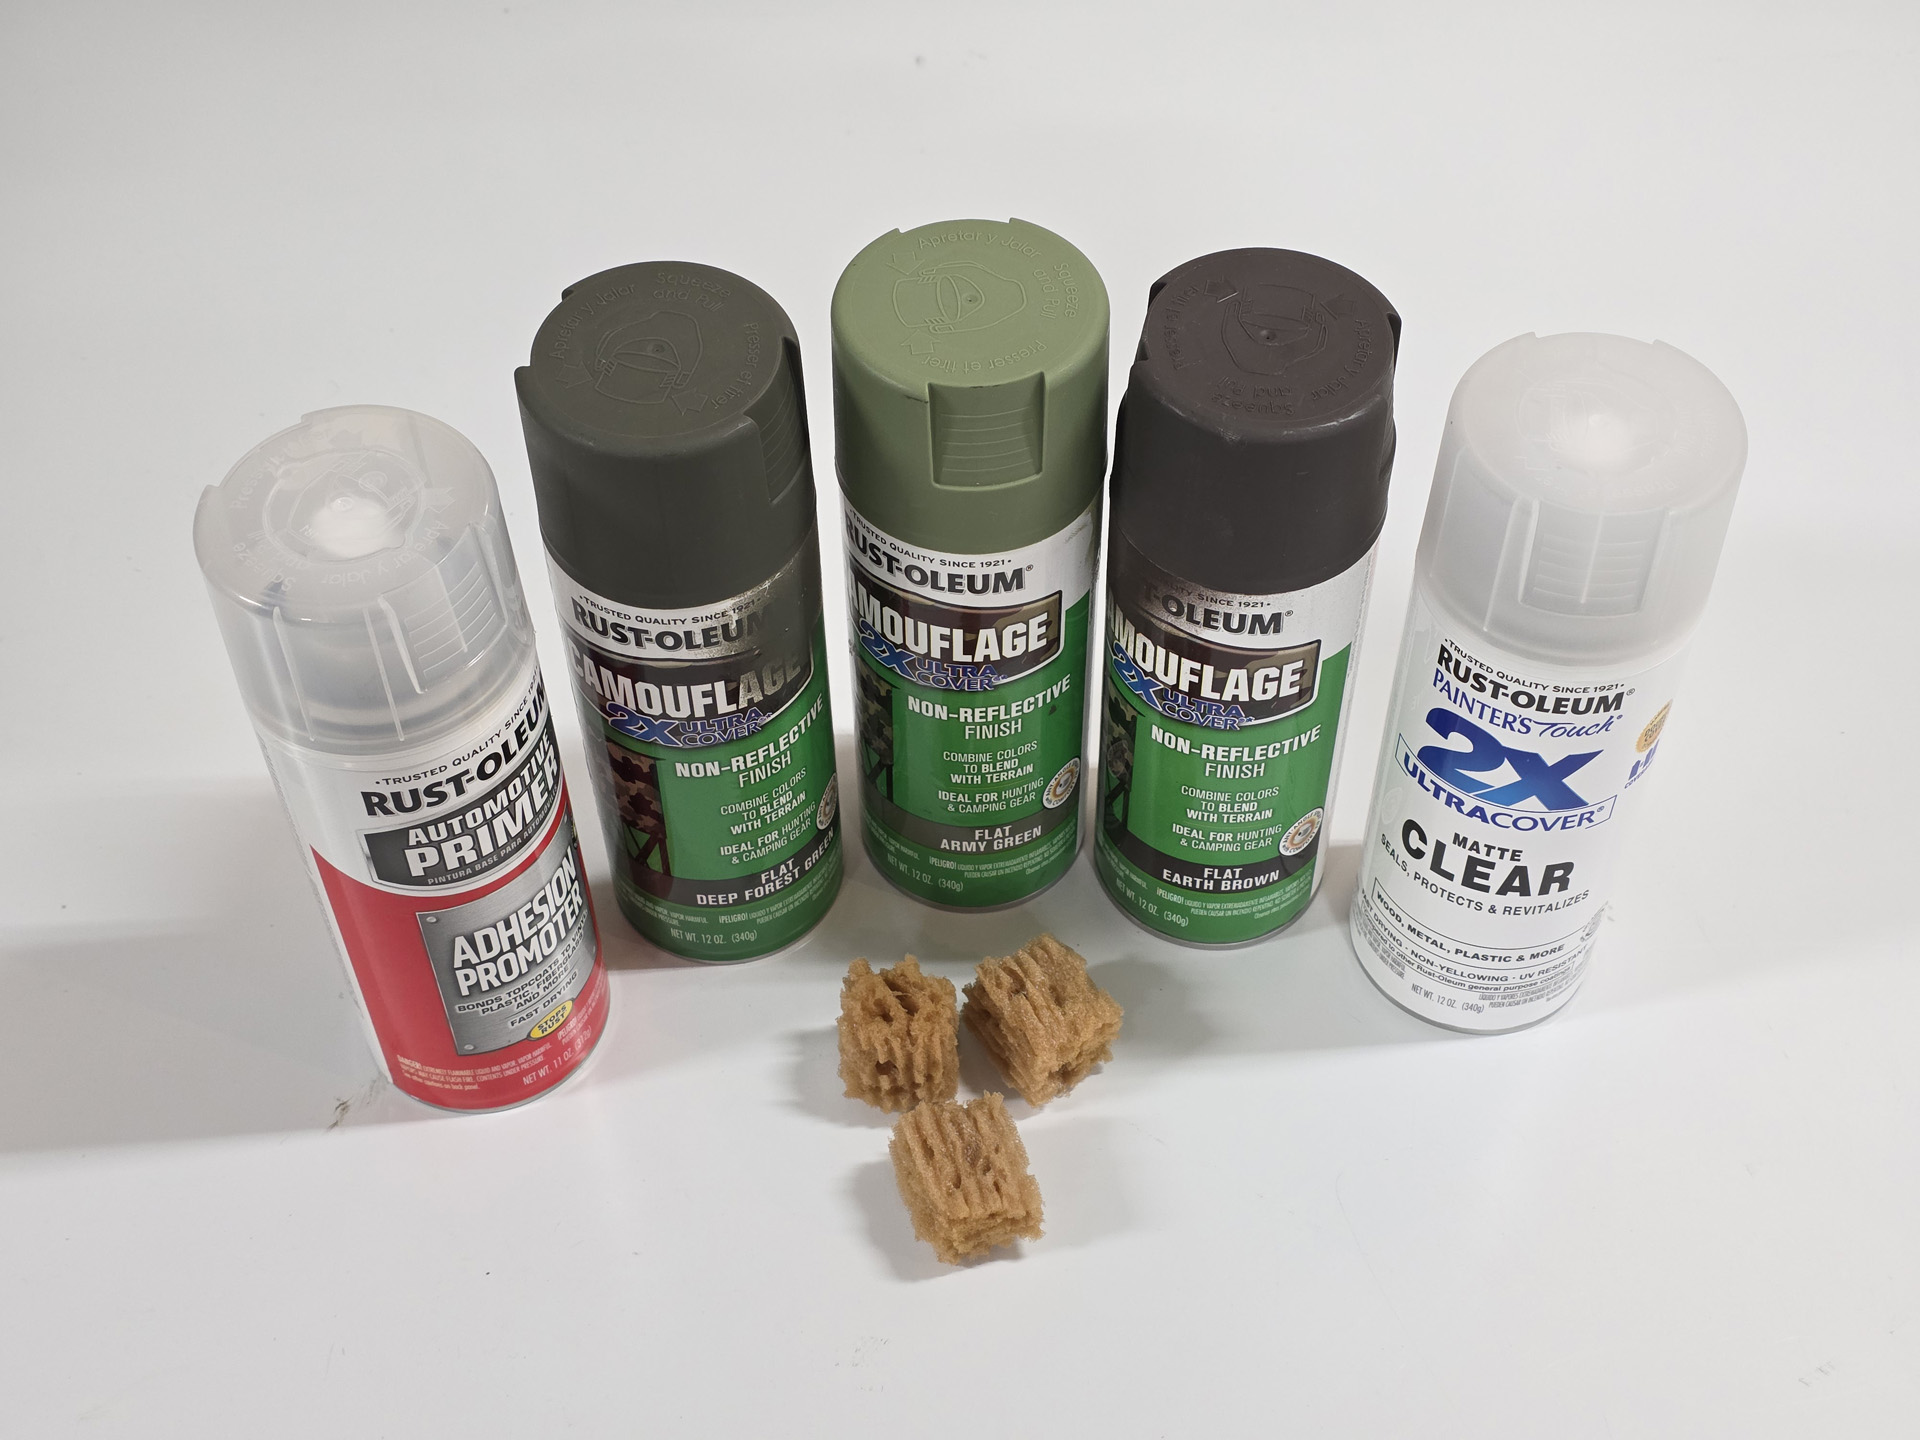
DIY Camo paint supplies
What was my process in painting my rifle stock?
- First, I took the stock off and removed the recoil pad, LOP module, grip module, comb, and swivel stud from the butt stock.
- I masked off the areas I didn't want painted.
- I used fine-grit sandpaper to lightly rough up the areas I wanted to paint.
- I wiped down the stock with rubbing alcohol
- I applied a light tack coating and a minute later, a good solid coat of Adhesion Promoter.
- 20 minutes later, with Flat Deep Forest Green, I did a tack coat, waited a minute or two, then a full coat of this base color
- A couple of hours later, I applied a second coat of Flat Deep Forest Green
- The next day, I sprayed Flat Army Green into a plastic tray until I had a small pool of paint and I then used a small sponge to dip into the paint and then dab random splotches on top of the base coat
- A few hours later, I used Flat Earth Brown to make additional random color splotches
- After a day of drying, I then applied three coats of Matte Clear with an hour to dry in between each coat and after a day of drying, I applied one more coat of Matte Clear
The hardest part of painting this was using the Matte Clear. It is difficult to see how well you have applied a coat and I got a few overspraying drip marks... marks that no one but myself would ever notice but it still bugs me.
I just completed this and will have to follow up on this article on how well the new paint job on my rifle holds up. For now, I am really happy with how it turned out.
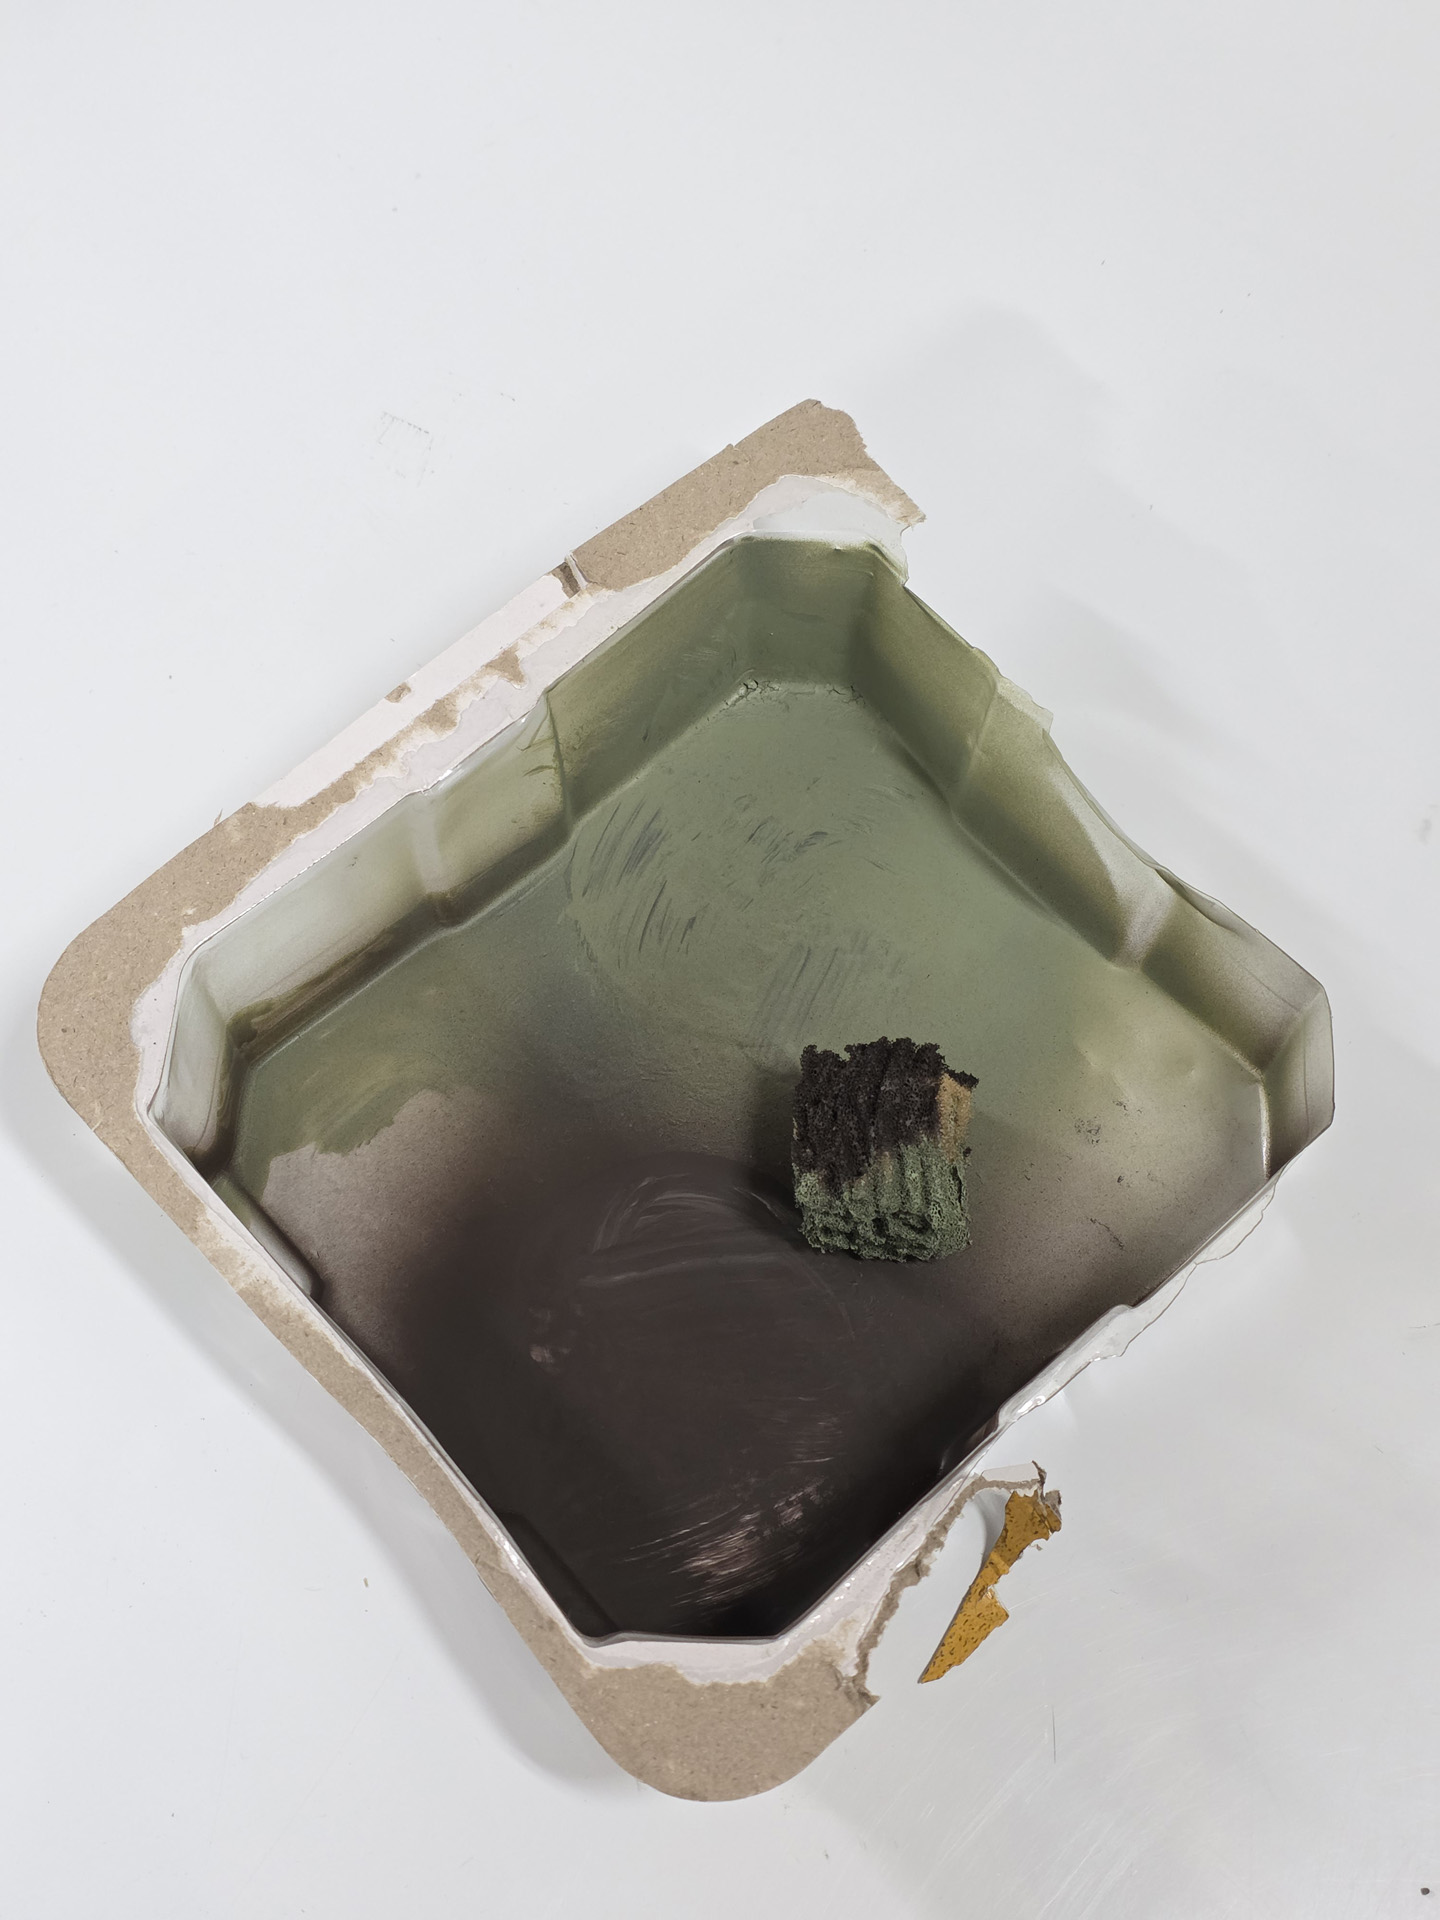
Paint tray with sponge
My rifle after my DIY Camouflage painting of the rifle stock.
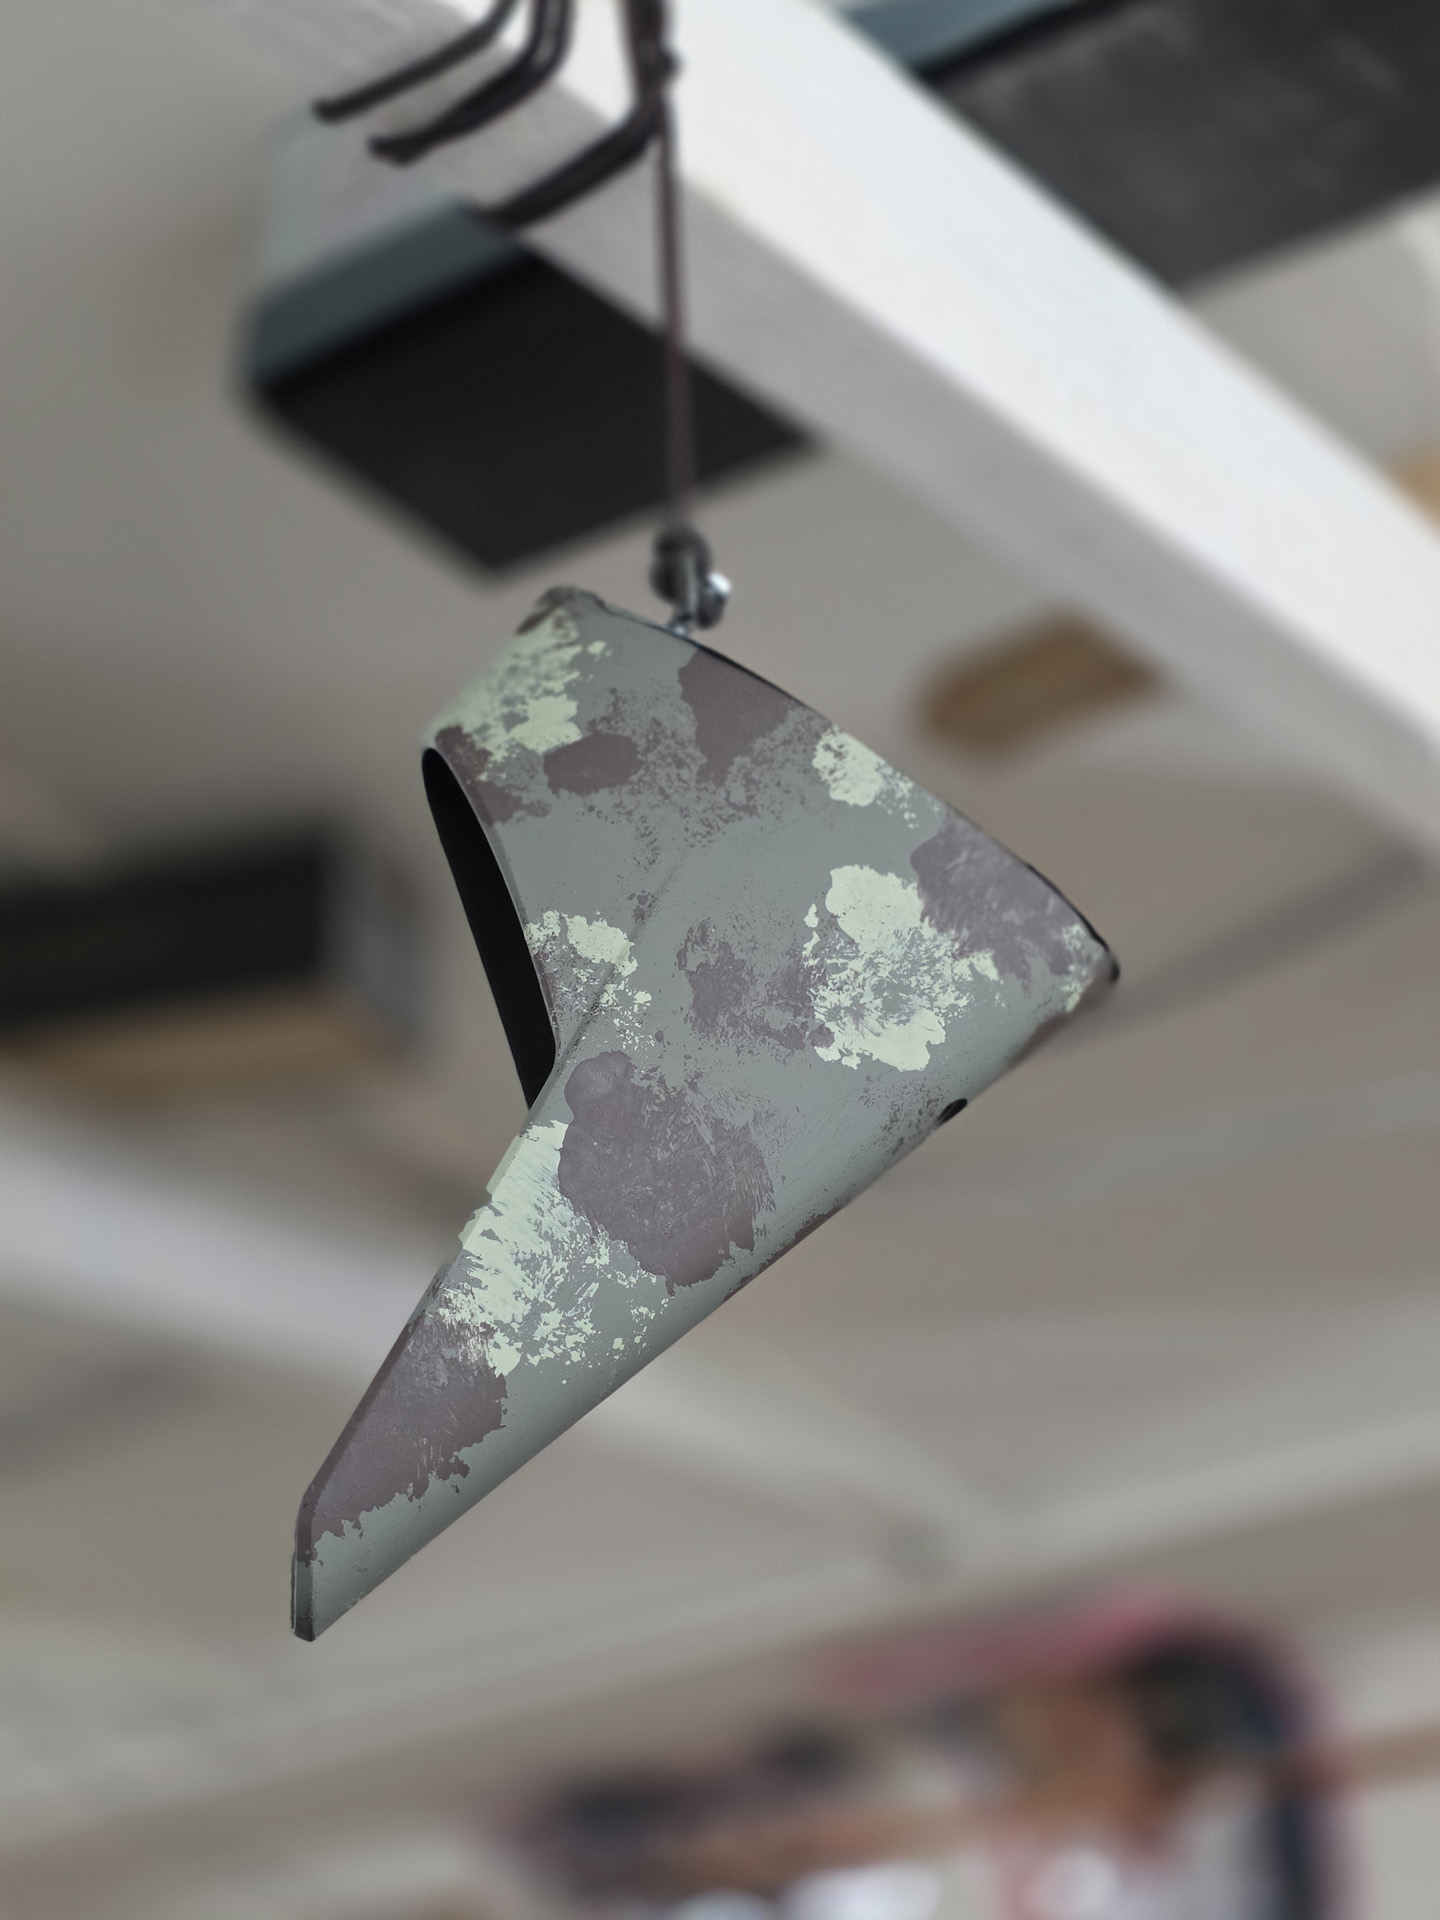
DIY Camouflaged rifle butt stock piece